Homemade Ricotta
By Rachel Davies
Every so often I learn something and then through it, somehow, there’s a shift in how I understand things. It sounds grand I know, but I suppose that’s how we live and learn, you gain a little, alter your perspective, and settle back down.
I feel a little silly linking this to ricotta, but I learnt how to make it, and it was a revelation to me!
I went to a class taught by Russell Brown and run by Great British Chefs. Russell was a relative latecomer to cooking, starting to work in a professional kitchen at the age of 27. His own restaurant, Sienna, became the smallest restaurant to win a Michelin star, with just 15 covers.
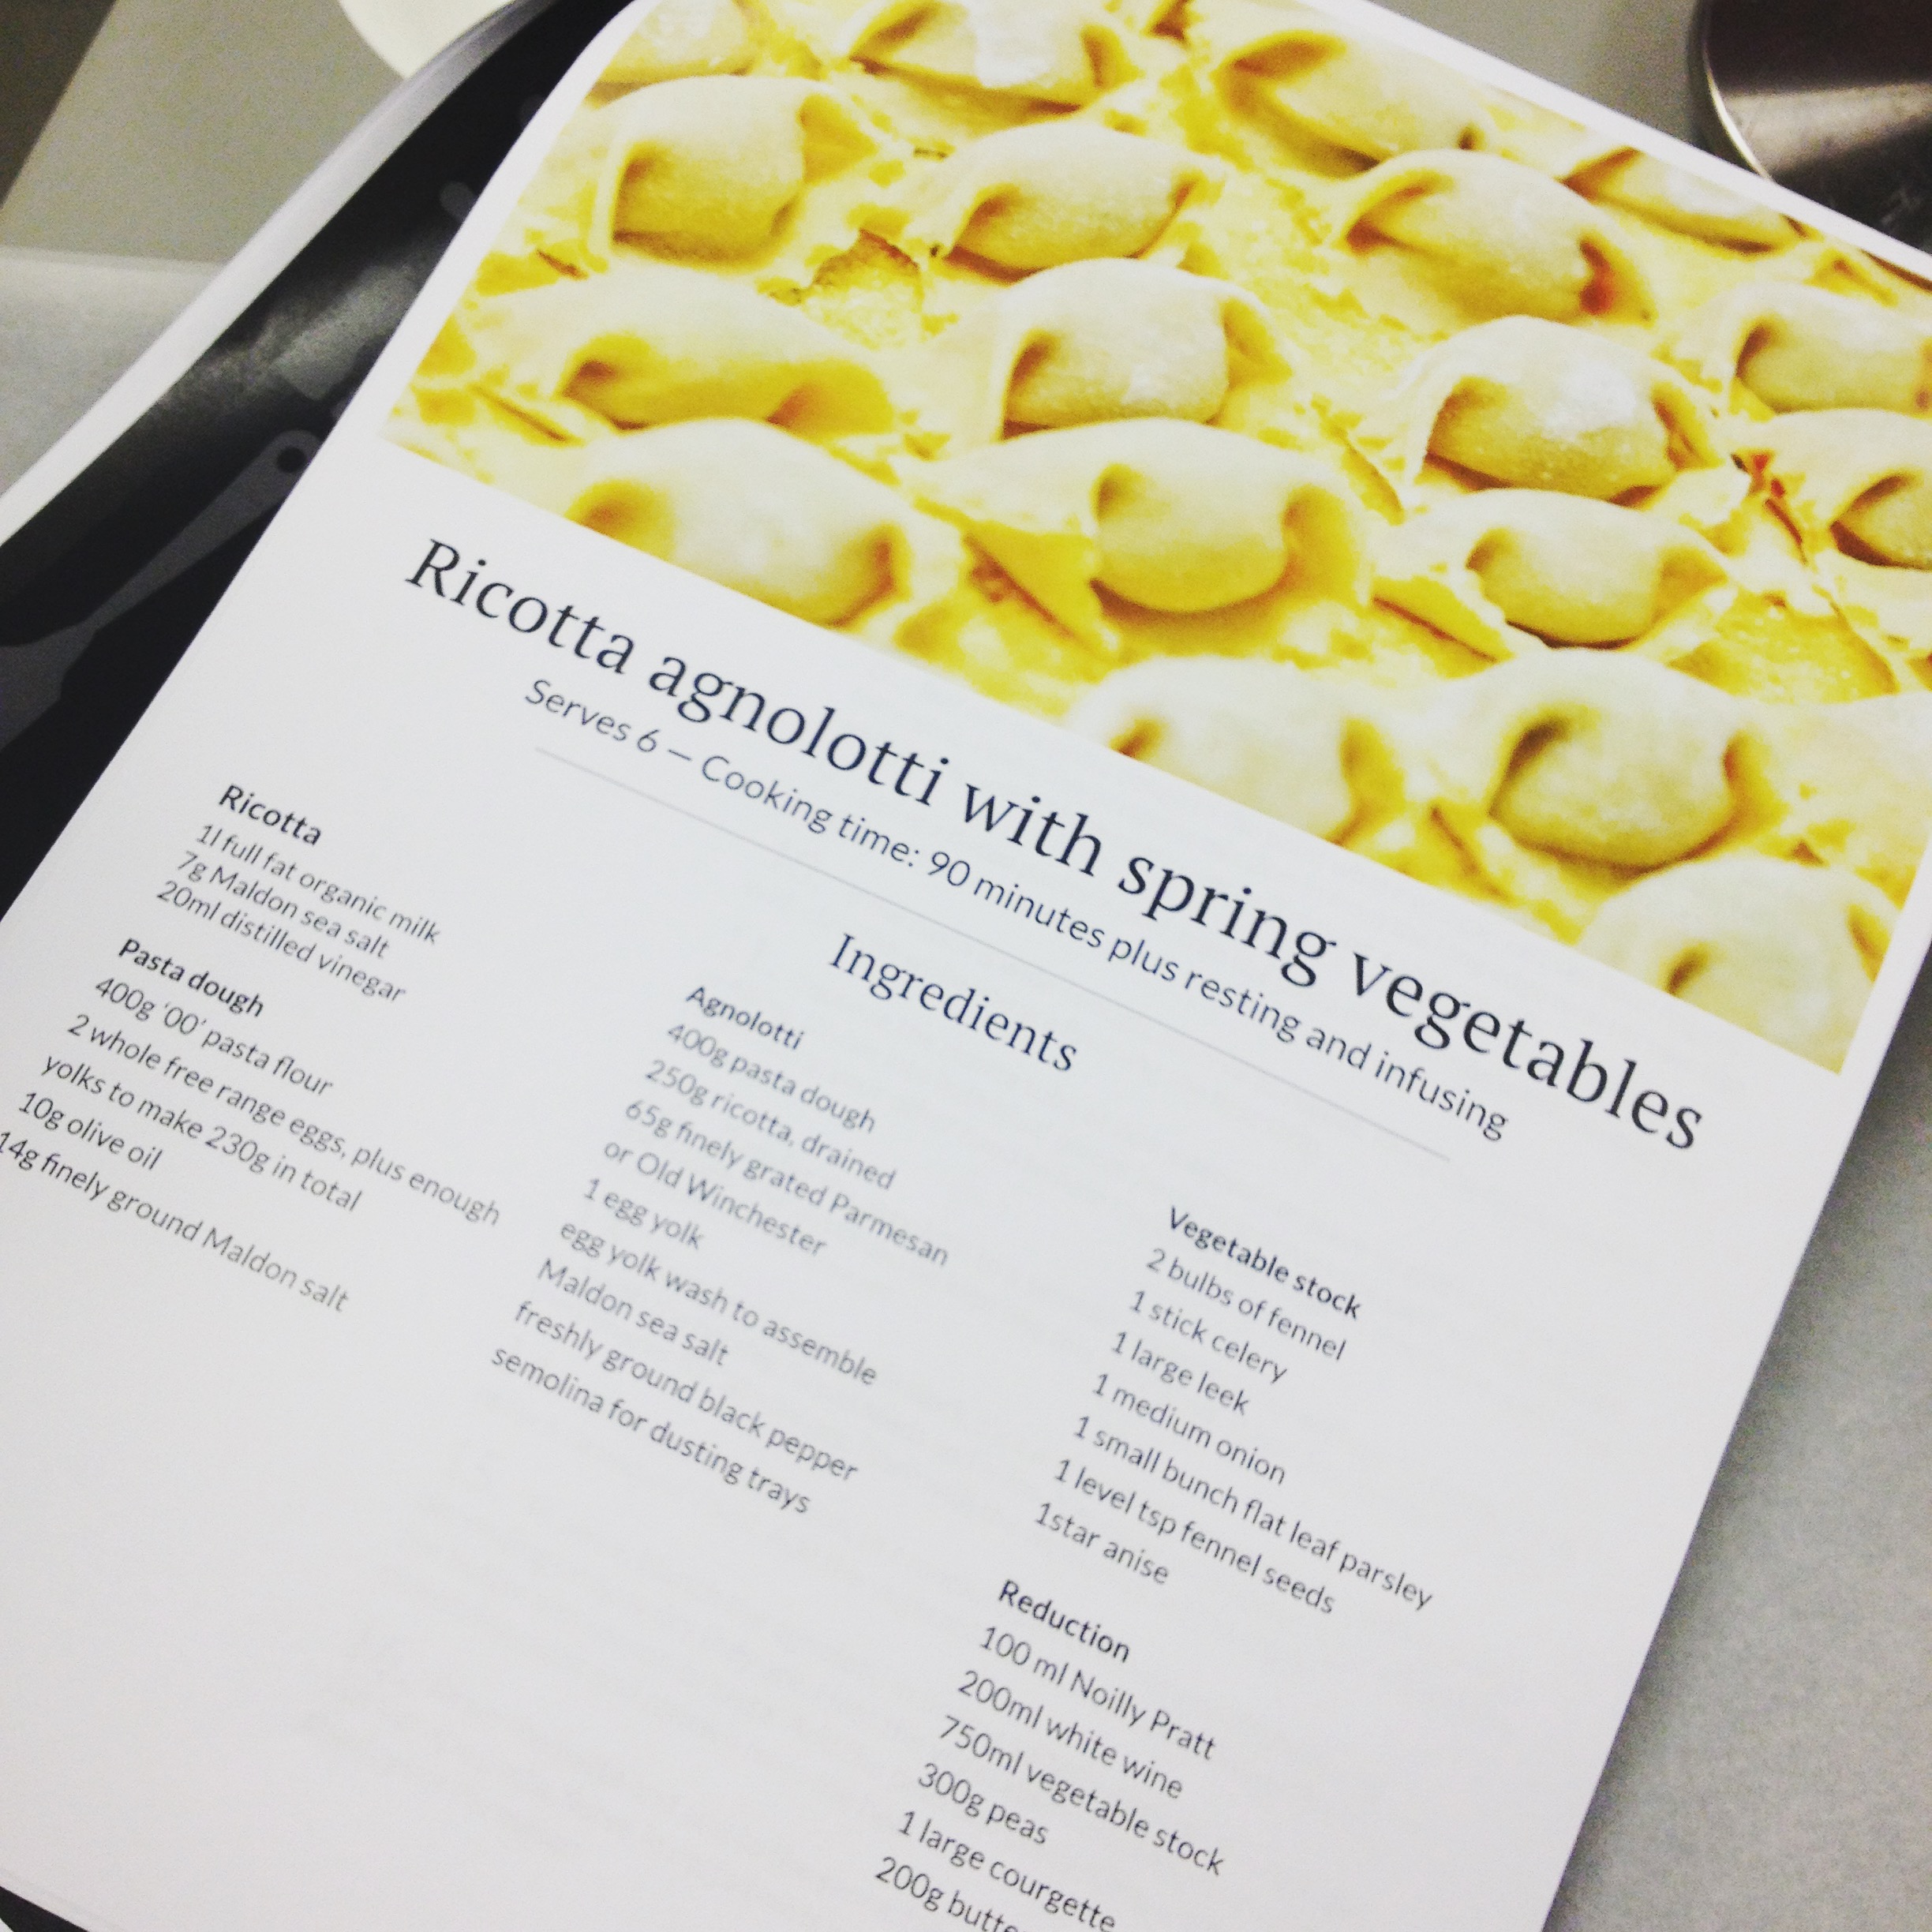
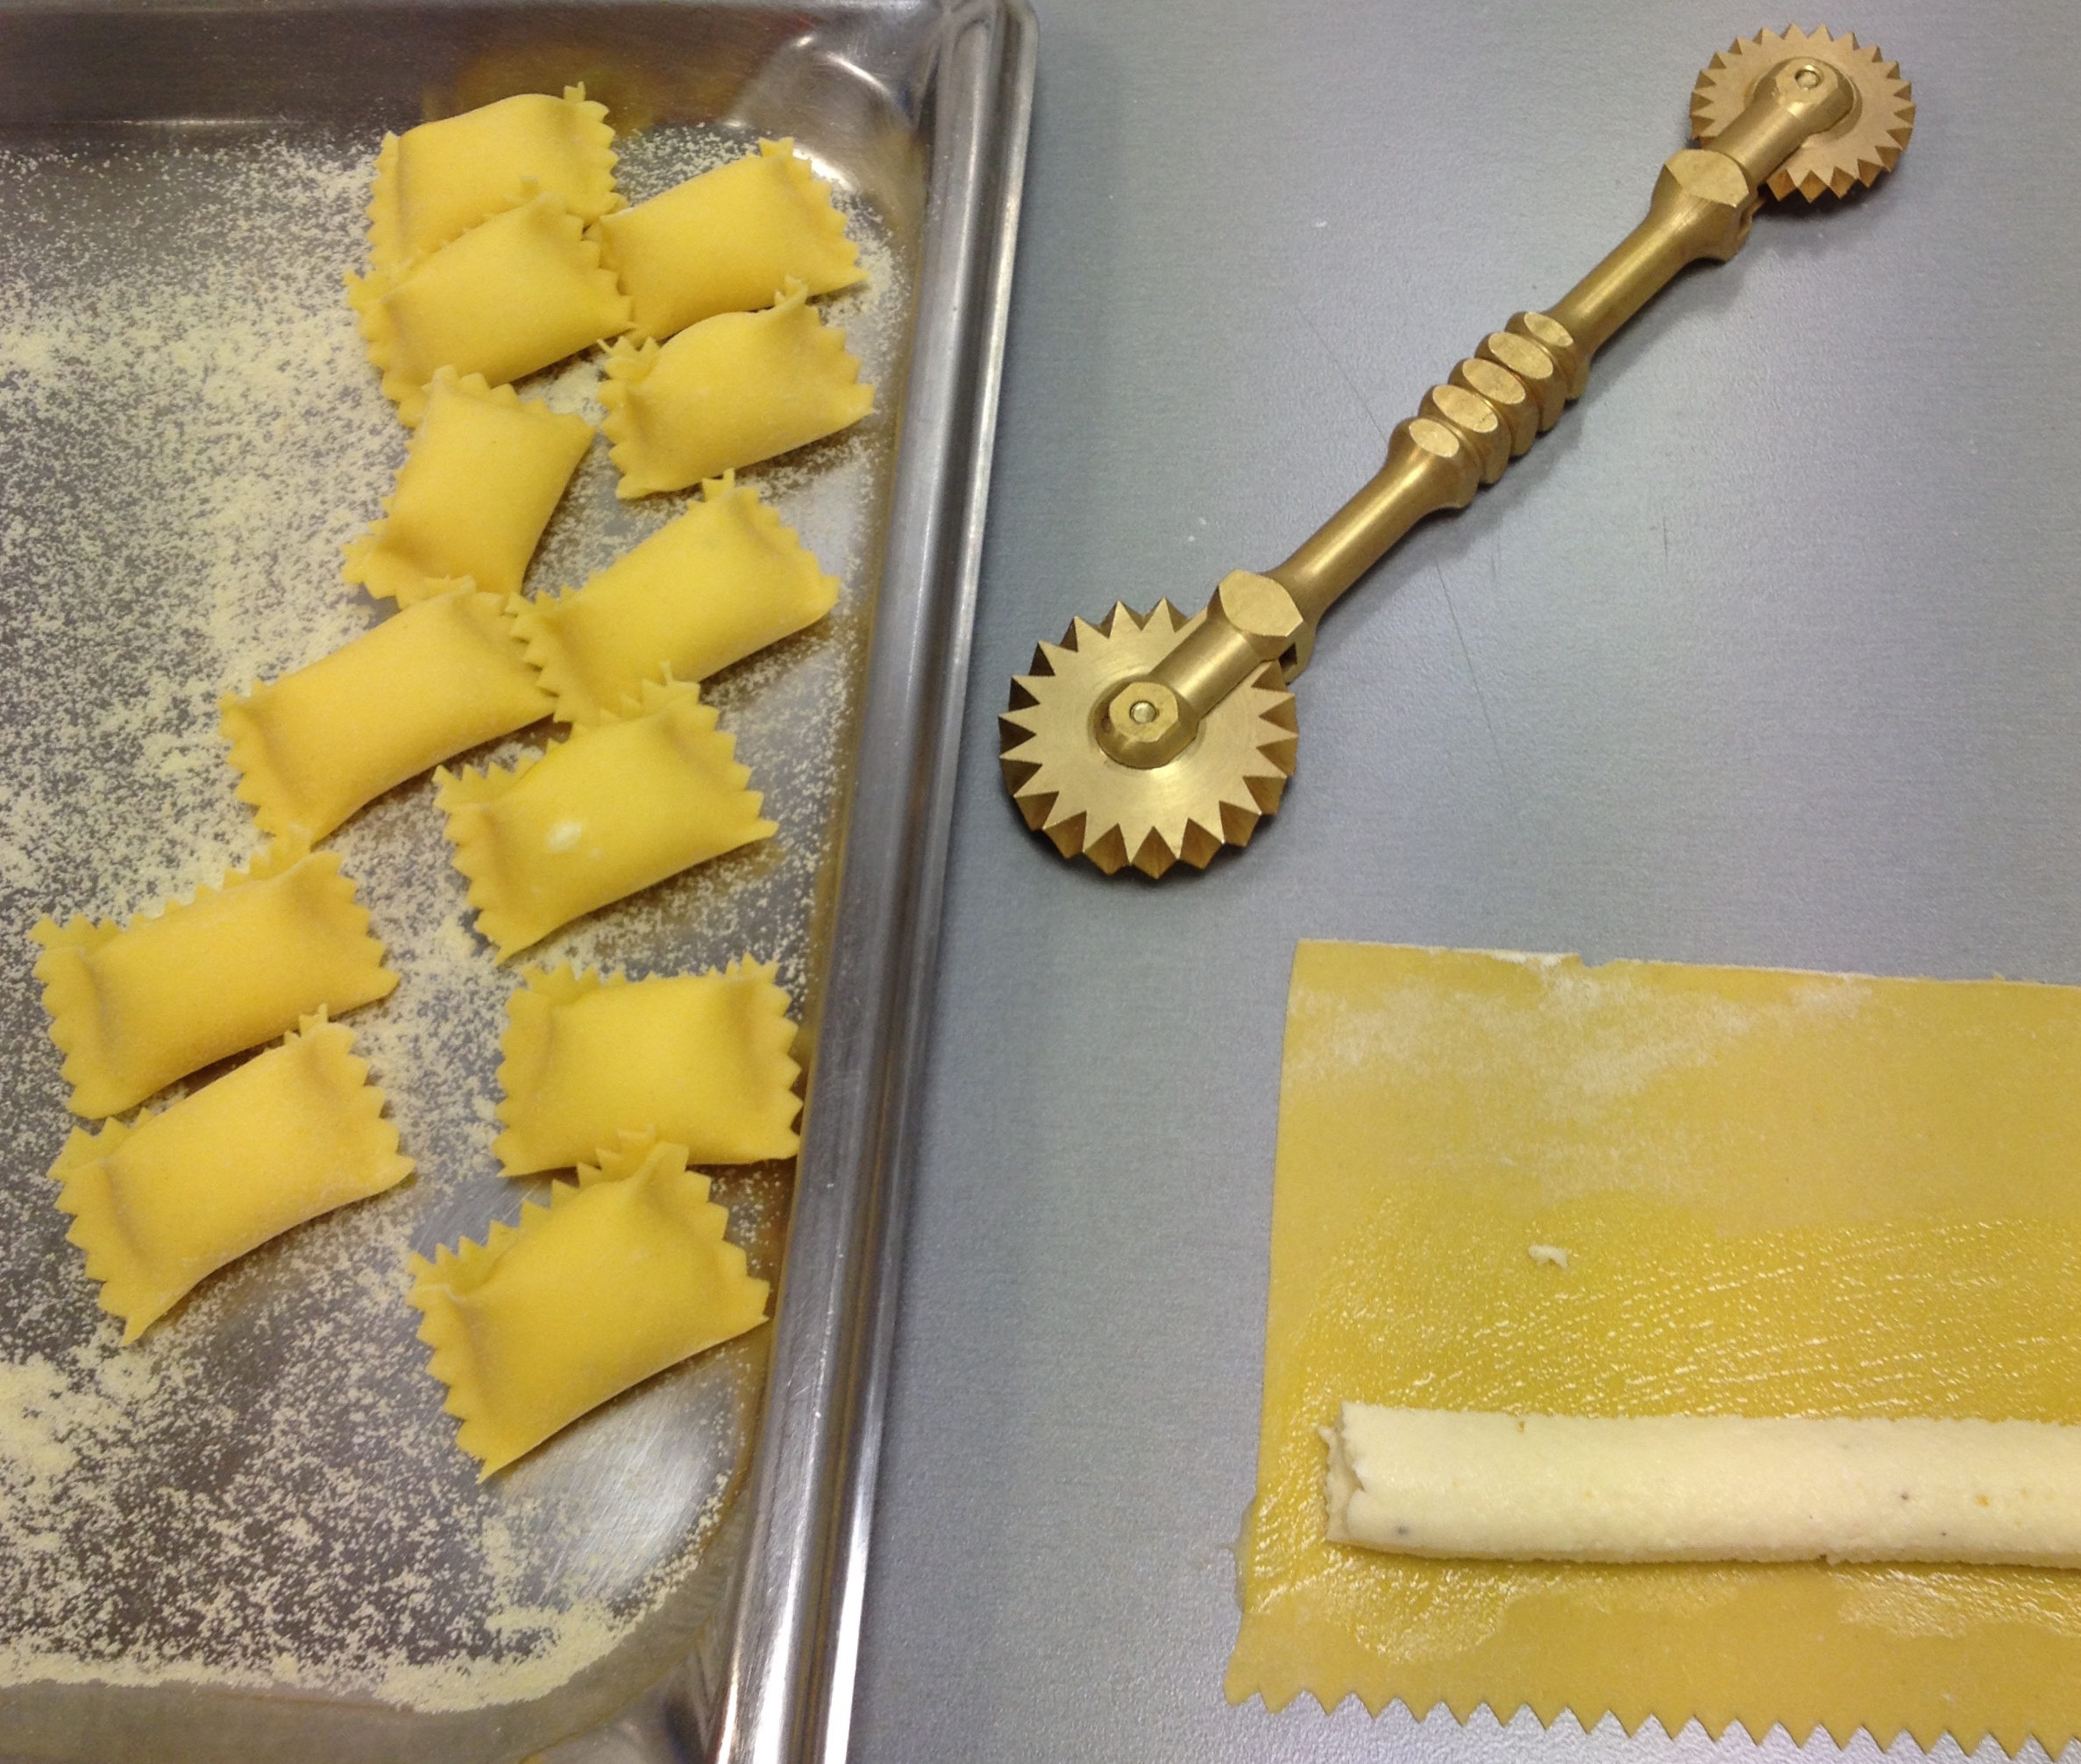
In the class he showed us how to make delicious little agnolotti made from fresh pasta with a ricotta filling. The pasta looked like little fluffy pillows, and Russell demonstrated how to make the ricotta from scratch before we made some ourselves.
And that’s when I thought – wow! I love simple how to’s, when you can make something at home with very little equipment, and the outcome is fresh, rewarding and tastes better than anything you can buy.
In Italy, ricotta is traditionally made with the whey that is leftover from making cheeses such as mozzarella or Parmesan, and for that reason the name ricotta means ‘cooked again’, referring to the whey which rather than being thrown out is reboiled and separated with an acid, resulting in this creamy and delicious soft cheese.
This is the perfect weekend recipe, lazy and undemanding enough to factor into your day, with a real, delicious, proud-of-yourself result!
Homemade Ricotta
Ingredients
300ml double cream
1.2l whole milk
2 ½ tablespoons good quality distilled vinegar
8g sea salt
Method
- In a large pan heat the cream and milk over a gentle heat, stirring regularly with a spatula to prevent burning.
- When the milk is warm, add the vinegar and salt and continue warming the milk. Stir gently every few minutes to stop the curds from sticking to the bottom of the pan.
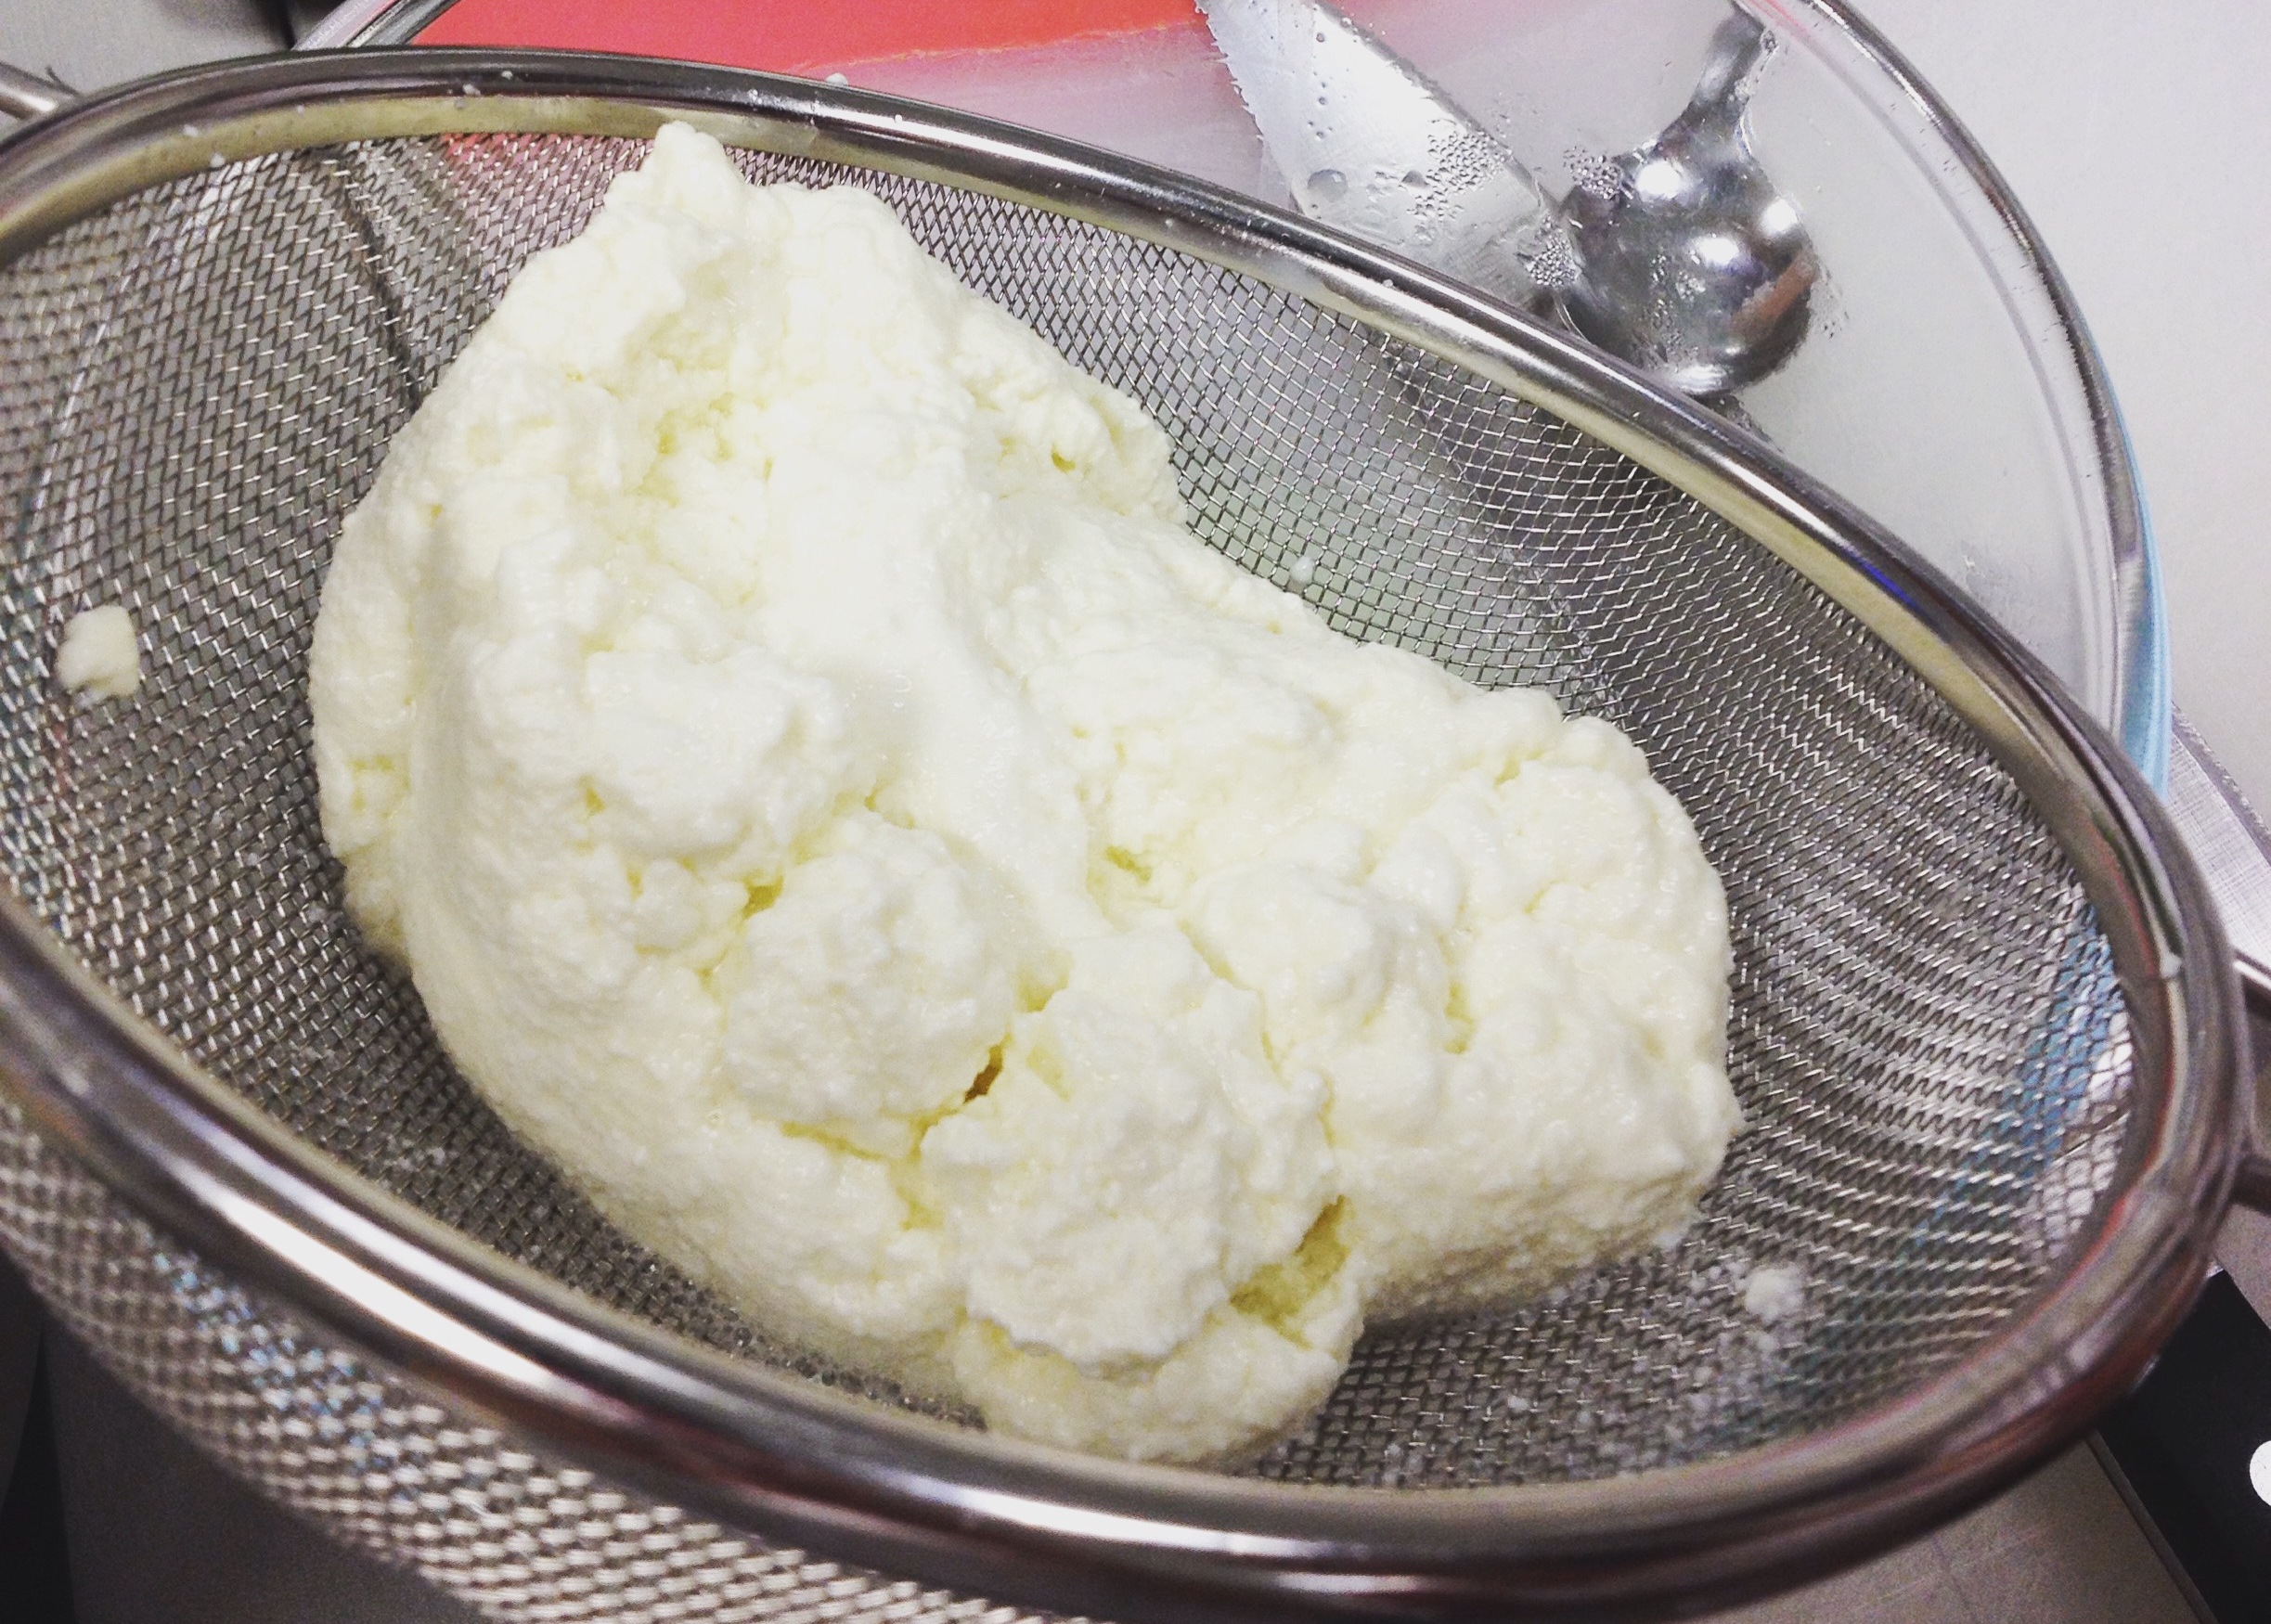
- When the milk is close to boiling, you should see the curds and whey separating. The whey is clear and yellowish and the curds are solid and white. If they don’t separate you might need to add a small splash more vinegar.
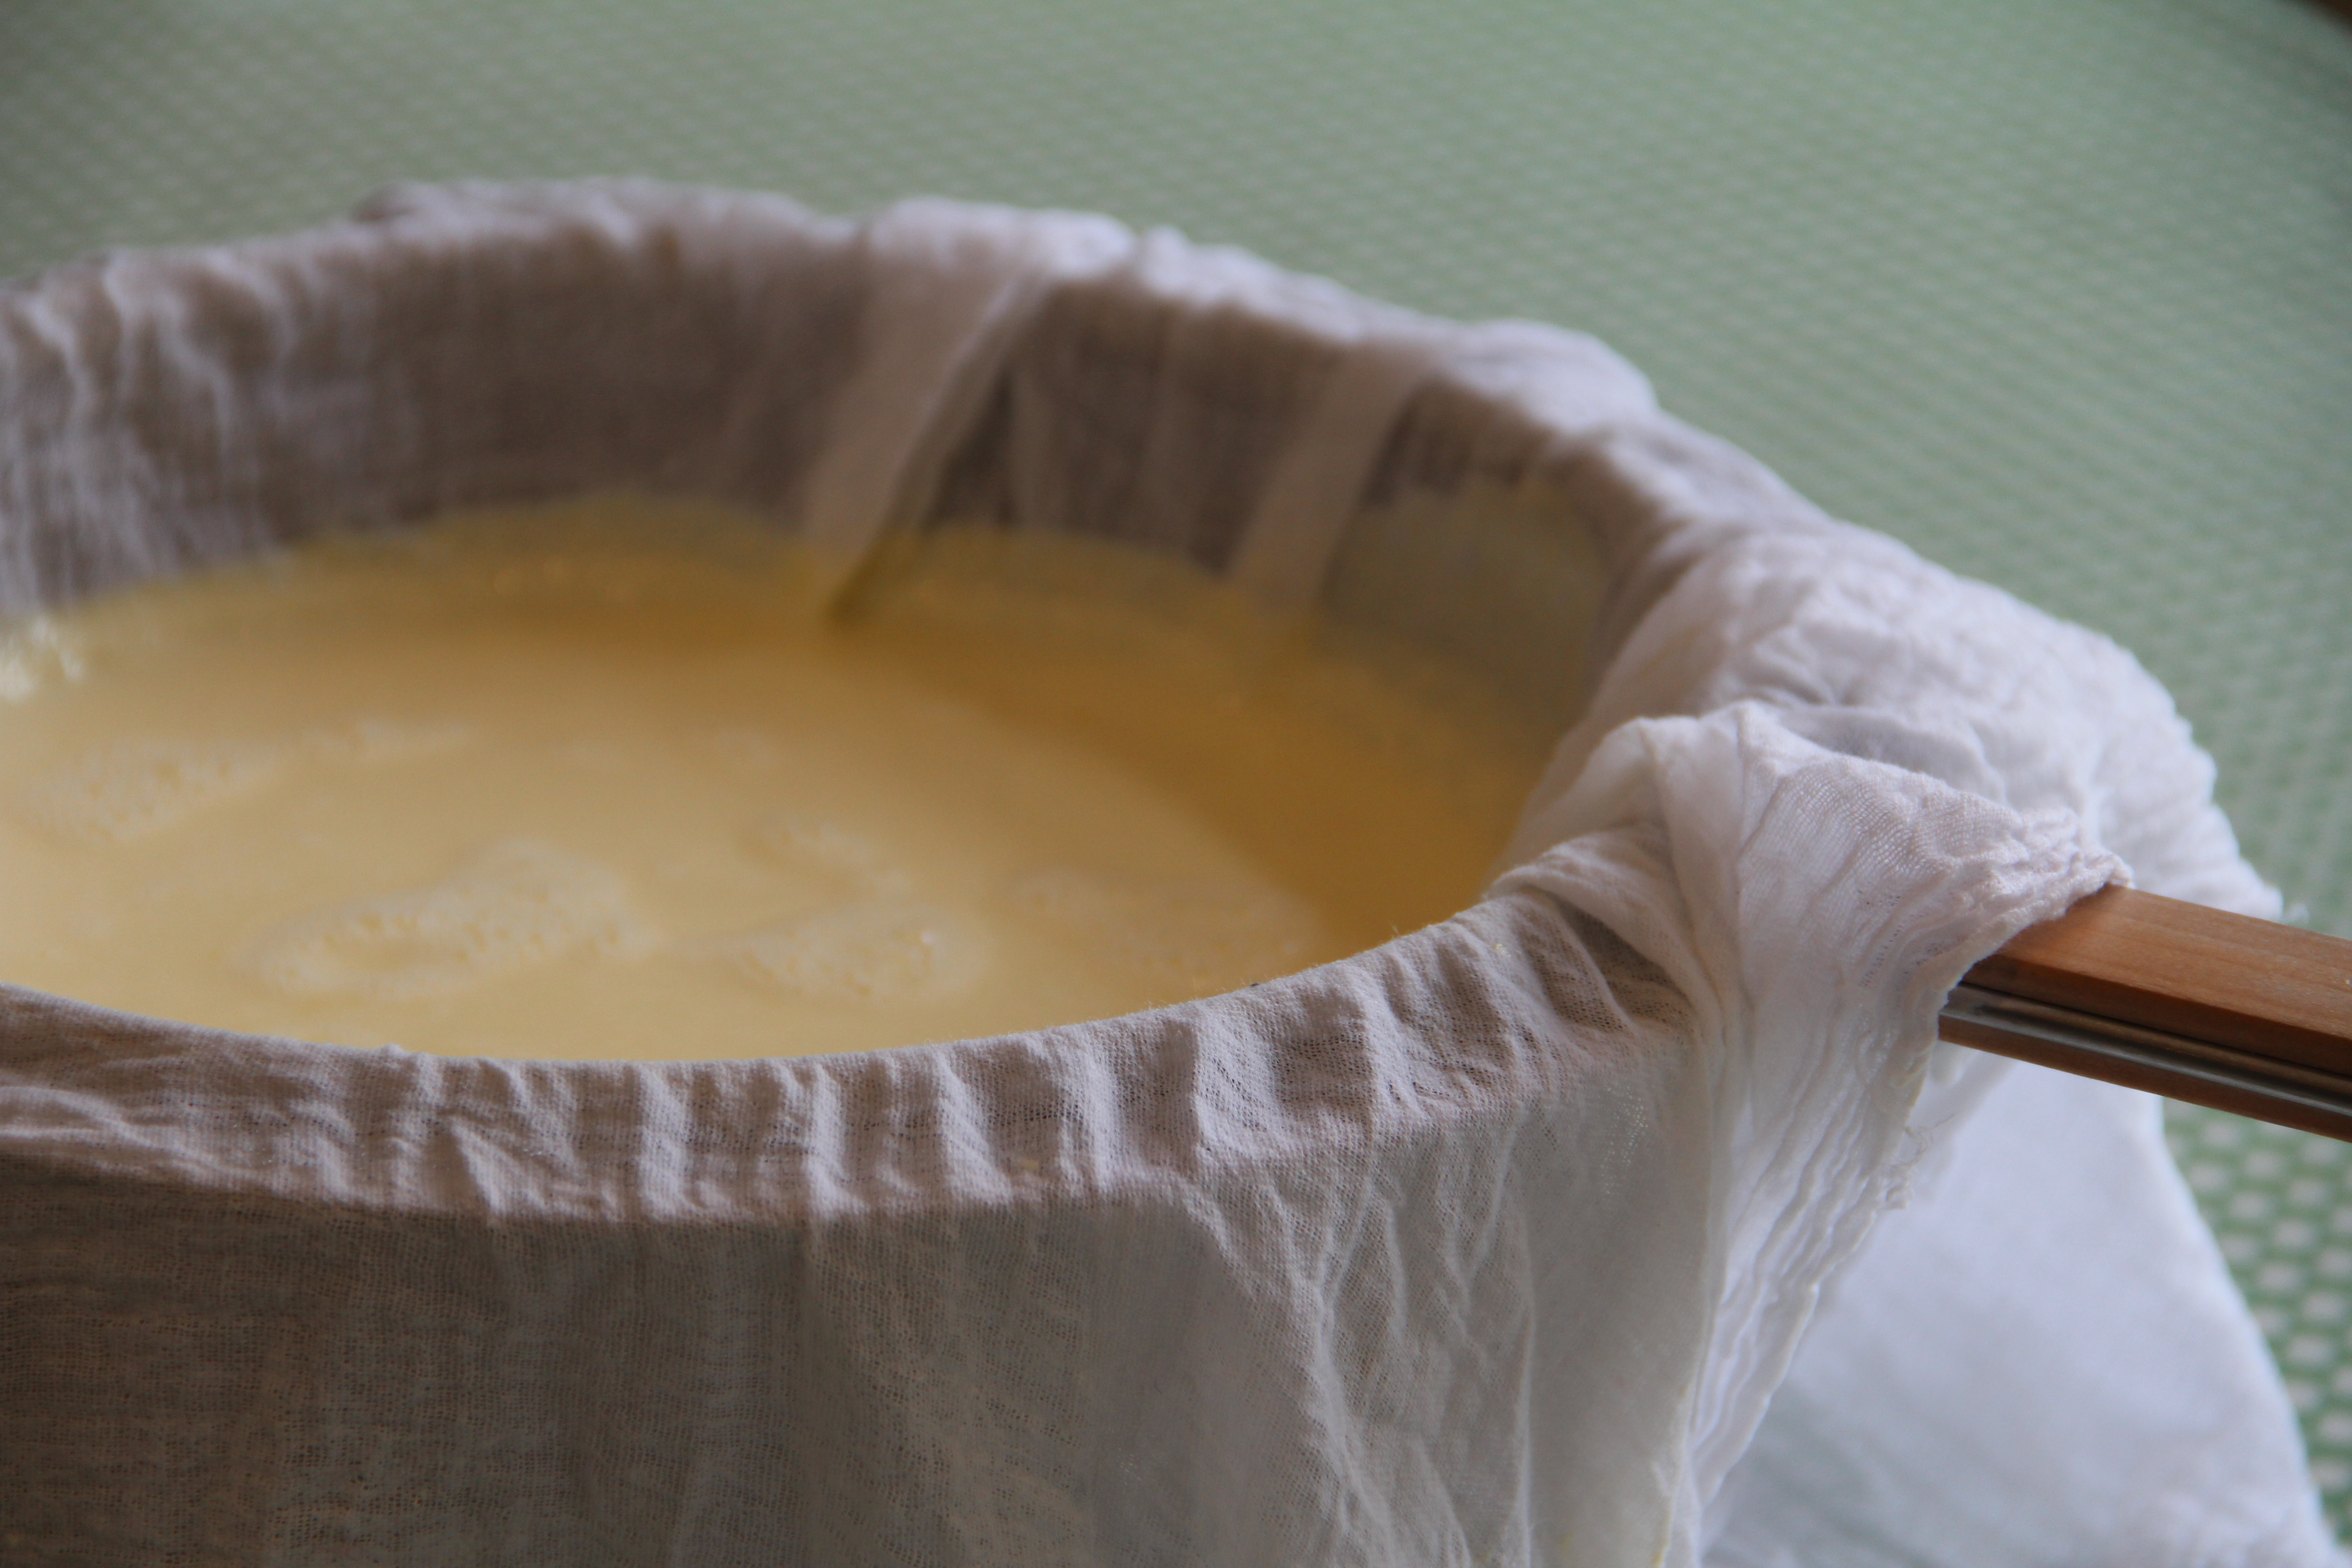
- As the milk starts to bubble, turn off the heat and let it sit for about 10 minutes. Then lift the curds with a slotted spoon into a sieve lined with muslin. Leave to strain for about half an hour, and transfer the ricotta to a container.
- It will keep for a few days in the fridge but it should be eaten when the cheese is as fresh as possible.
Some ideas for your creamy ricotta:
- Spread on toast, top with warm pear slices, honey and thyme.
- Add dollops on top of lightly cooked greens and drizzle with a lemon dressing.
- Serve as a dessert with berries and grated chocolate.

Want to learn how to make more delicious food? Come along to one of Rachel’s classes. You can also sign up to the Rachel’s Kitchen newsletter for news and recipes.